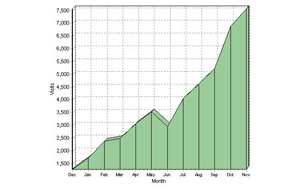
Site Meter is a free service which can track your visitors. You'll have a clear picture of who is visiting your site, how they found you, where they came from, what interests them and much more.
Some days ago, I told you How to Install Google Analytics but there are still many bloggers who prefer Site Meter.
Steps to Install Site Meter on Blogger
1- Go to http://www.sitemeter.com/?a=signupoptions
2- Chose to Sign Up for Site Meter Basic Free.

3- Fill in the form with Your Site's URL (e.g. http://bloggerfaqs.blogspot.com/), Your Site's Name (e.g. Blogger FAQs), Codename (e.g. BilalAslam), Your Current Time and then check the box in the end, click on Next button.

4- On the next page, you'll need to fill another simple form with your valid and active Email Address, Title, Your ZIP or Postal Code, Country and of course your Gender.

5- Now, Site Meter wants you to review the information you've entered in the previous steps. Check if everything is correct then press Next button.

6- Site Meter has now sent an email to your email address which you provided earlier.

7- Go to your email, check inbox and open the email sent by Site Meter. I entered my Gmail address, so I'll open my Gmail account now.
8- Actually this email contains your codename and password of Site Meter account. Note that codename and password.
9- Go back to http://www.sitemeter.com/ and enter your codename and password in the login box.

10- Once you've logged in, you need to open manager section.
11- Click on HTML code link in the left sidebar. Once that page is opened, you need to copy the Site Meter JavaScript HTML.

12- Now, log in to Blogger, on Dashboard go to Layout | Edit HTML.
13- Search for </body> and paste the code right above it.
Tip: </body> tag is almost at the end of the template.
14- Press Save Template button to save your template.
15- Press View Blog button to confirm that you've added Site Meter on your blog, you can see the Site Meter logo at the bottom of your blog.

No comments:
Post a Comment